Information Possibly Outdated
The information presented on this page was originally released on August 11, 2014. It may not be outdated, but please search our site for more current information. If you plan to quote or reference this information in a publication, please check with the Extension specialist or author before proceeding.
Home gardeners can grow microgreens
Some of the garden vegetables I miss in the summer are leafy greens.
High temperatures cause undesirable bitterness in the greens, and I don’t like high temperatures, either. But there is a way you can enjoy fresh-grown greens in the summer and not even leave the air conditioning: You can grow your own microgreens.
Growing microgreens is a fun way to add fresh flavors and a tender crunch to your dishes. I have been growing microgreens for about five years, and they are easy for the home gardener to grow.
Microgreens are young, immature, densely grown seedlings of selected vegetables and herbs. At harvest, which ranges from seven to 21 days after germination, microgreens are approximately 1 to 3 inches tall. At this stage, depending on the species grown, the harvested microgreens consist of the stem, cotyledon and developing true leaves.
There is some confusion between microgreens and sprouts. Sprouts are seeds that are geminated in a high-humidity system, and the entire plant -- leaves, stems and roots -- are harvested and consumed. Microgreens are seeds grown as normal plants, and only the stems and leaves are harvested for consumption.
Microgreens have a variety of uses. They are vegetable confetti that adds flavor, texture and color to meals. They can be added to salads or make up an entire salad themselves, they add color and flavor to sandwiches, or they can serve as a colorful garnish.
Microgreens are rich in phytonutrients. Research has shown that certain microgreen varieties can have high concentrations of vitamins C and E, beta-carotene, lutein, zeaxanthin and violaxanthins.
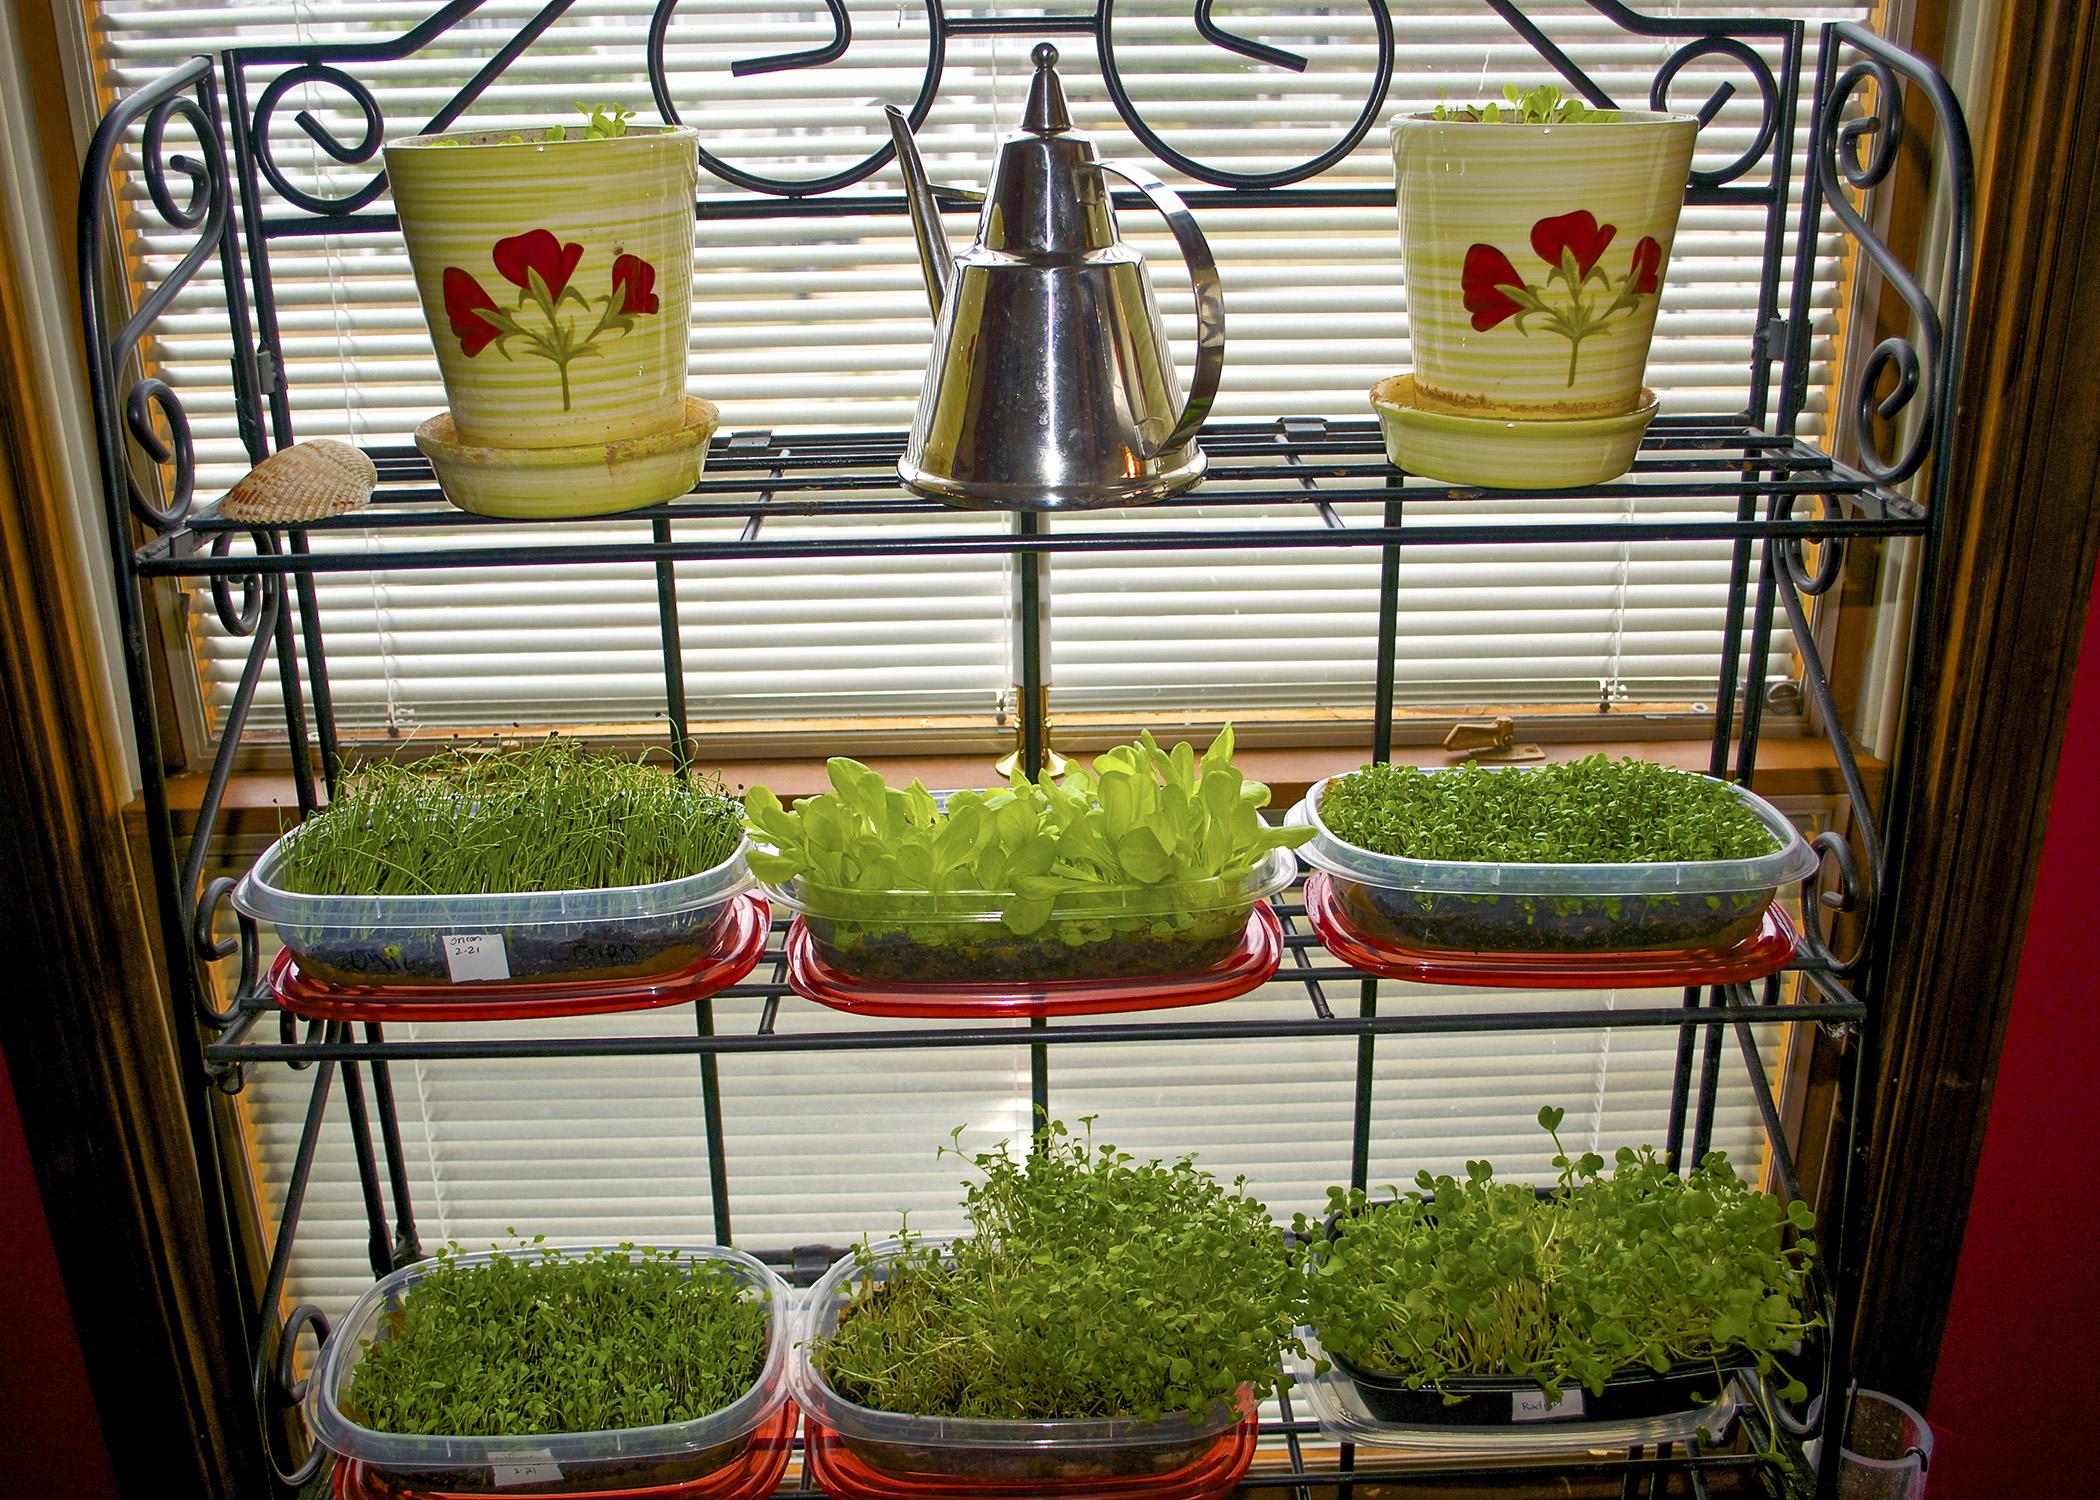
Microgreens grow quickly with minimal garden effort. You can grow them outdoors on the porch, in front of a window or indoors under lights. I grow microgreens using peat-based potting medium in various sizes of containers. I recommend this method for gardeners with limited growing space.
Sprinkle microgreen seeds evenly onto the moistened growing medium. The amount of seed used varies by variety. After sowing, cover the containers with a clear dome or a paper towel to retain humidity until the seeds germinate. Remove the cover after a few days.
I find the book, “Microgreens: A Guide to Growing Nutrient-Packed Greens” by Eric Franks and Jasmine Richardson to be a great resource. The authors give significant details to guide gardeners who want to grow their own microgreens.
There are well over 50 different varieties of microgreens available, but they can be grouped by their rate of growth after sowing. Below are some varieties I have grown that are good choices to start growing your own microgreens:
- 7 to 10 days to harvest -- pea shoots, radish
- 10 to 15 days to harvest -- mustard, kale, pak choi, cabbage, purple kohlrabi, arugula
- 16 to 25 days to harvest -- beets, red amaranth, carrots, scallions, Swiss chard, cilantro, basil
You must have good quality, fresh seed to successfully grow microgreens at home because you want to have very even germination. Seeds for microgreen use are readily available in bulk, which is important because it is impractical to buy the amount of seed needed in seed packets.
Your local garden center or online sources will provide the materials and bulk seeds you need to get started.
You can harvest microgreens using scissors. This is usually a one-cut process, and the greens can be stored in a plastic storage bag or container in the refrigerator. As with any fresh vegetable, always gently wash before consumption.
If you plant a few containers of microgreens each week, you can have a steady supply of beautiful and tasty greens for your family to enjoy.


